Planed, Poured, Sanded, Polished
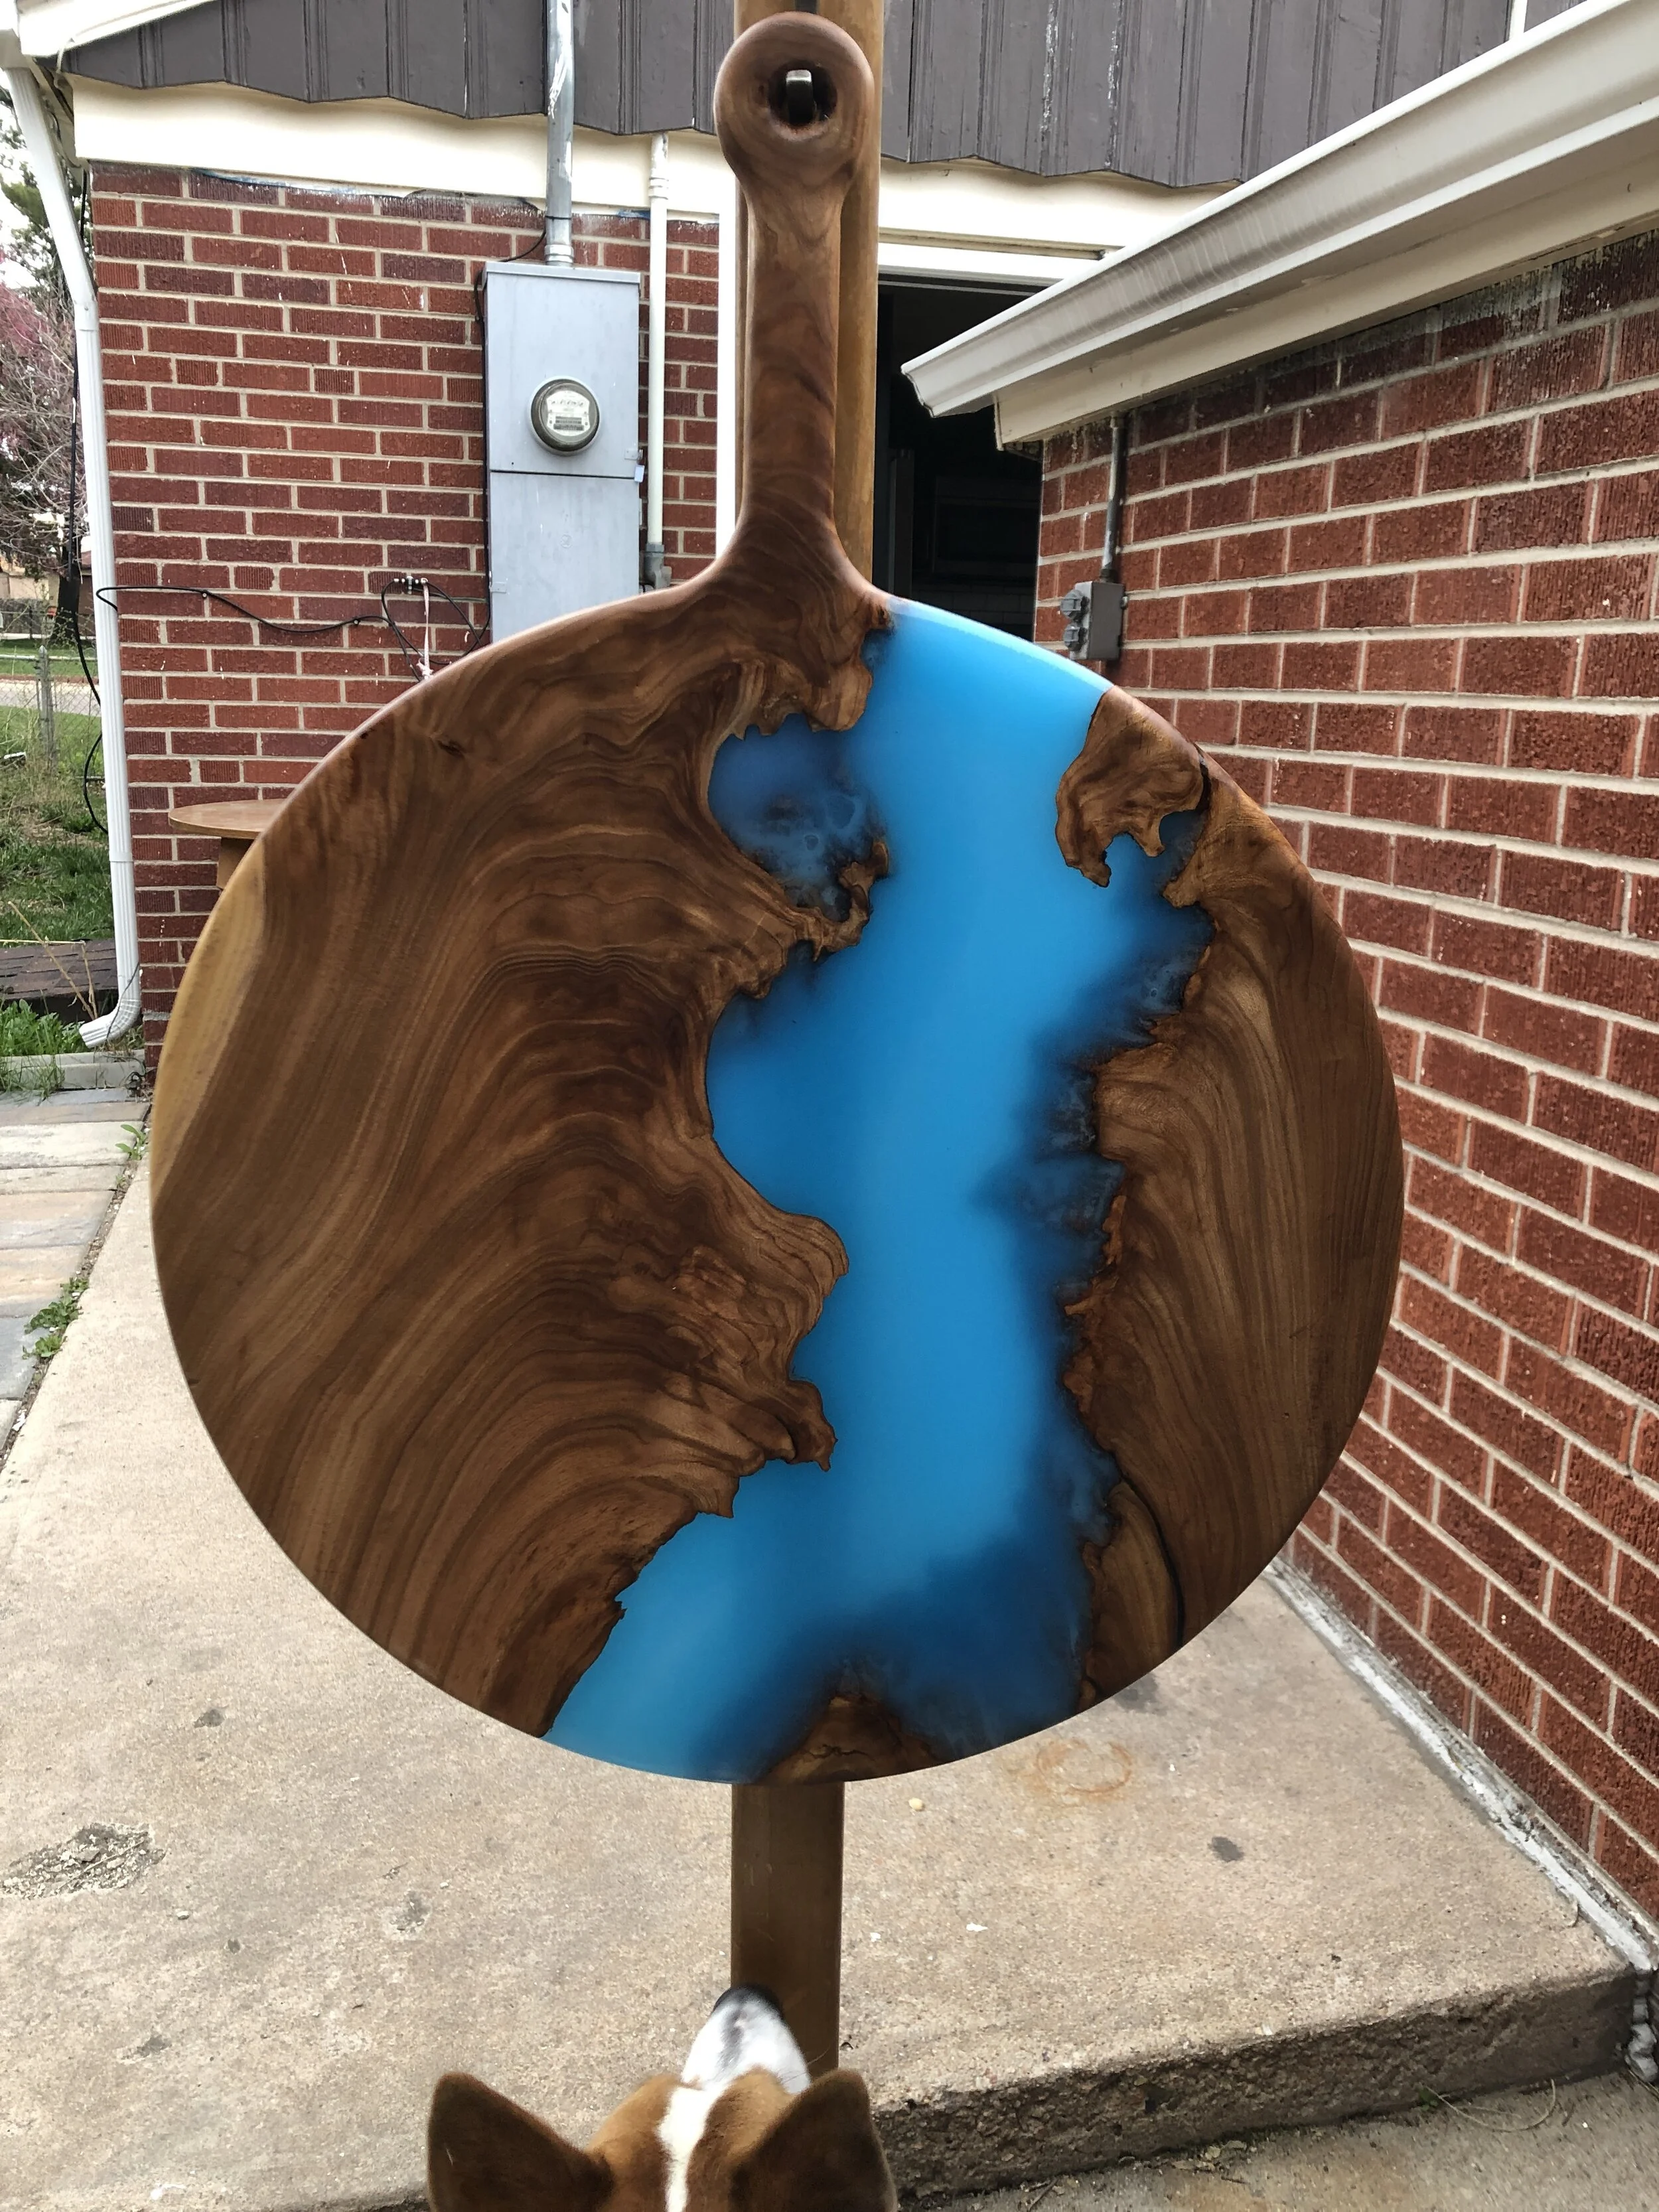
The Snake River board was a gift to an old friend in Jackson Hole. It was made from the sister board to the wood I used in the Siberian Elm Series. It was my first large-form project, and it is riddled with imperfections. But it still makes a damn good cheese board.
Check out some of my process below.
Selecting Wood.
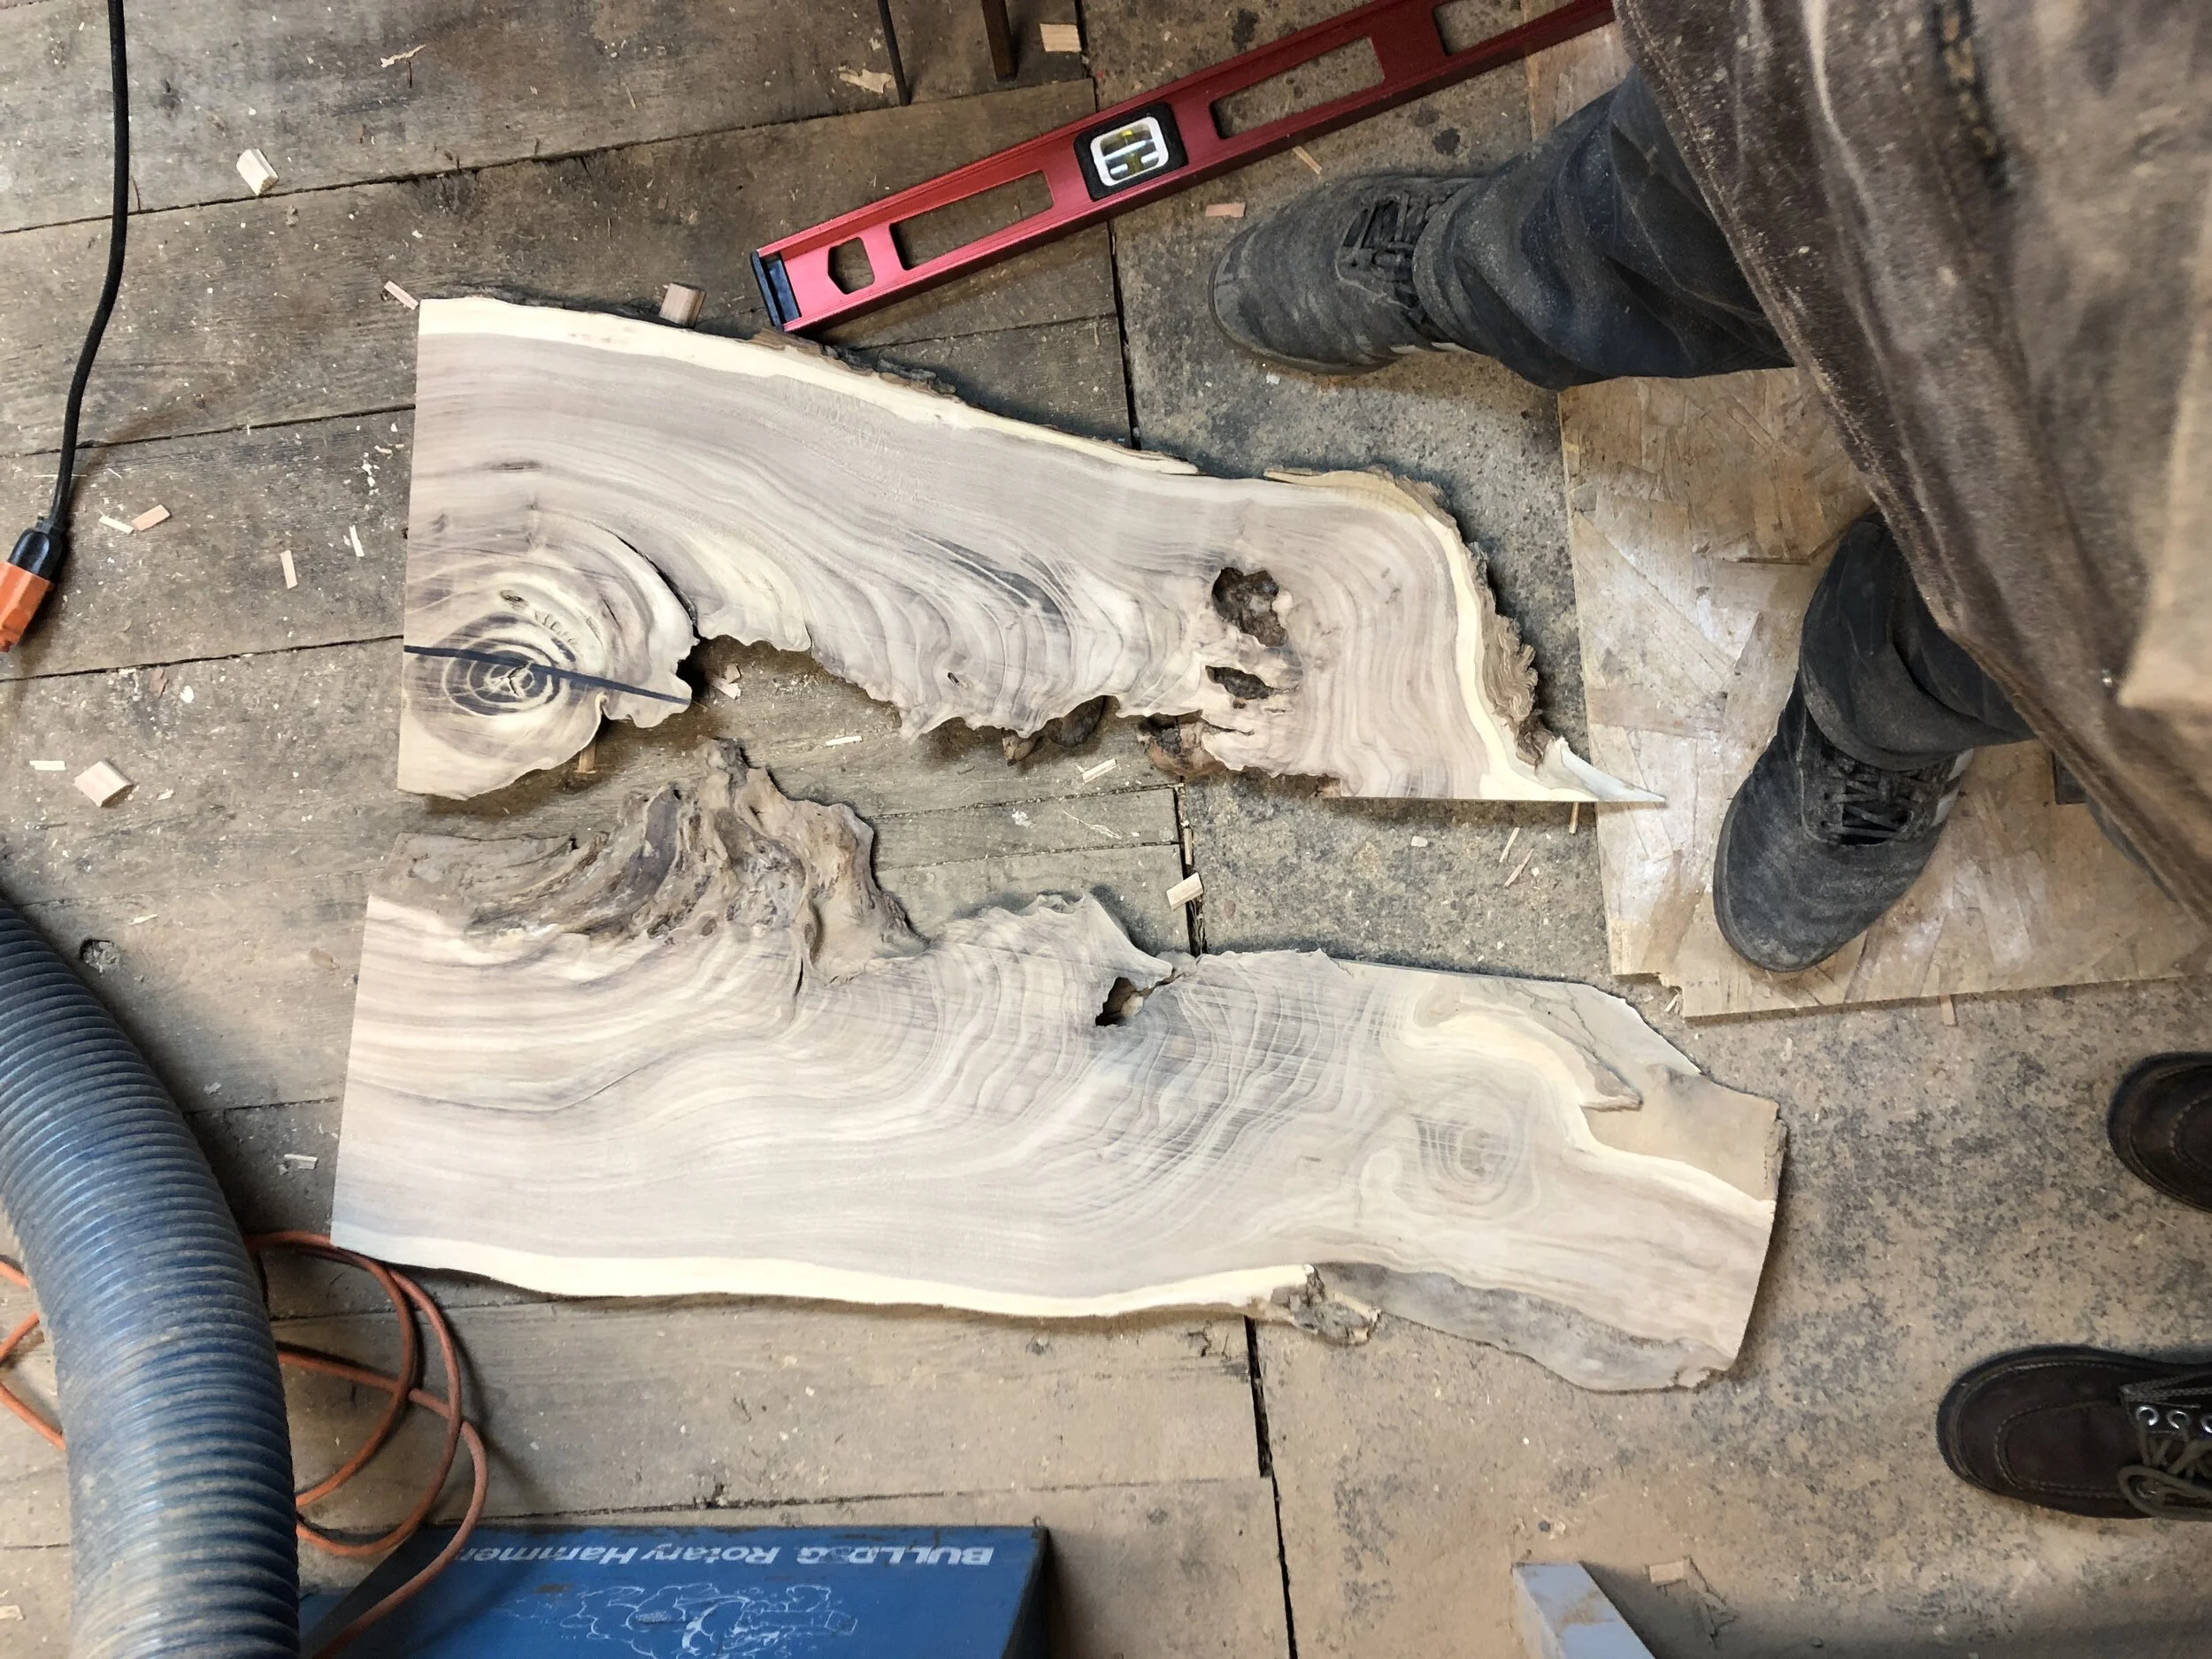
All wood projects begin with smart wood selection. Most woodworkers are looking for uniform slabs—pieces with no major curves or knots. Working with epoxy, I prefer wood with all sorts of nooks and crannies. The Snake River board began just this way. It was a very bark-heavy end of an elm tree that when I planed down, had all sorts of lumps and bumps.
Pouring Epoxy.
Filling all those nooks and crannies is a schloppy process. It begins by making a mold for your wood so when poured, the epoxy doesn’t leak. It ends with a sticky mess, as I try to fill every small hole. (Also pictured here is the top of my foot as a reminder that this whole process is anything but professional).


The process ends with a beautiful piece, full of color that turns all those pesky wood “imperfections” into ordered chaos. There are numerous steps I’ve skipped that went into making the Snake River Board, including designing and cutting stencils, routering, and nearly endless sanding.
Larger pieces like the Snake River Board are available mostly by consultation. If you’re interested in a larger-scale piece (like a hefty cheeseboard or a coffee table), contact me. I like to jump on the phone with folks to talk wood, size, shape, etc.


